1. 環境は、Window 10 Home (64bit) 上で行った。
2. Anaconda3 (64bit) – Spyder上で、動作確認を行った。
3. python の バージョンは、python 3.6.5 である。
4. pytorch の バージョンは、pytorch 0.4.1 である。
5. GPU は, NVIDIA社 の GeForce GTX 1050 である。
今回確認した内容は、現場で使える! PyTorch開発入門 深層学習モデルの作成とアプリケーションへの実装 (AI & TECHNOLOGY) の 該当ページ(P.002 – P.016) である。
pytorch の install から 簡単な動作確認を行った.
※プログラムの詳細は、書籍を参考(P.002 – P.016)にして下さい。
■PyTorch の install.
|
1 2 3 4 5 6 7 8 9 10 11 12 13 14 15 16 17 18 19 20 |
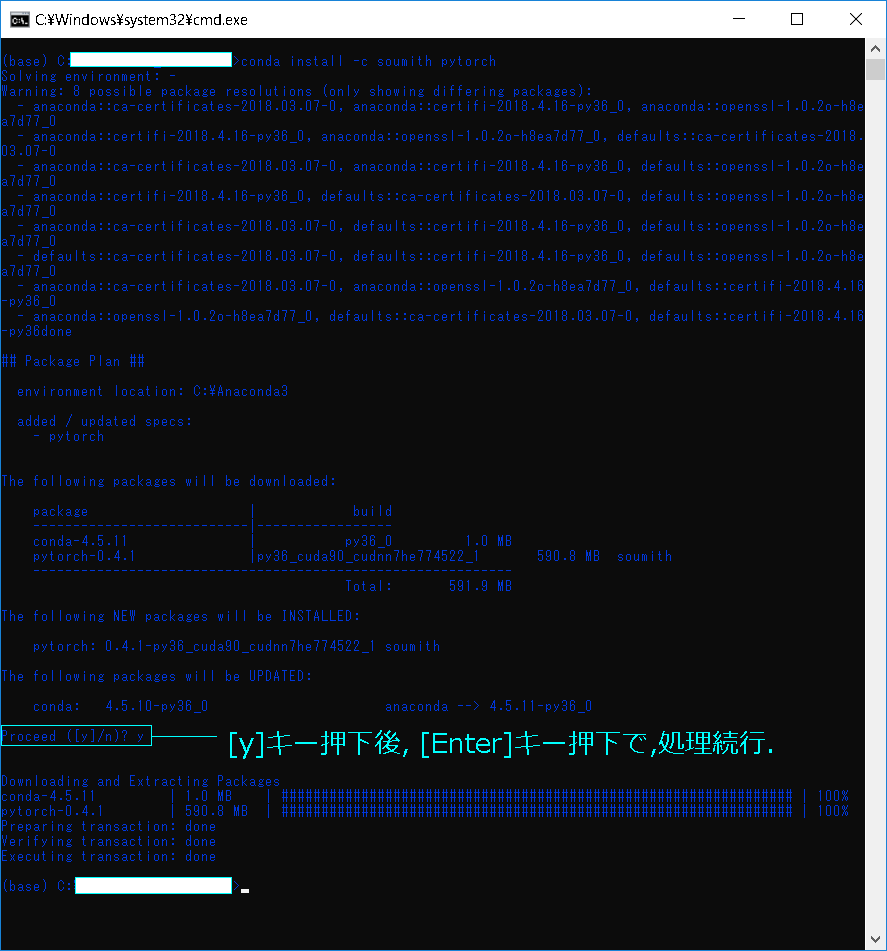
1. PyTorch環境設定(仮想環境: base(root)). 1-1. [Anaconda Navigator] から [Environments] - [base(root)] の 右三角ボタンを押下し, [Open Terminal]押下. 1-2. 以下のコマンドを確認. (base) >conda install -c soumith pytorch Solving environment: - Warning: 8 possible package resolutions (only showing differing packages): ~(略)~ Proceed ([y]/n)? y Downloading and Extracting Packages conda-4.5.11 | 1.0 MB | ################################################################ | 100% pytorch-0.4.1 | 590.8 MB | ################################################################ | 100% Preparing transaction: done Verifying transaction: done Executing transaction: done (base) >exit -> [Enter]キー押下で, Terminal終了. |

|
1 2 3 4 5 6 7 8 9 10 11 12 13 14 15 16 17 18 19 |
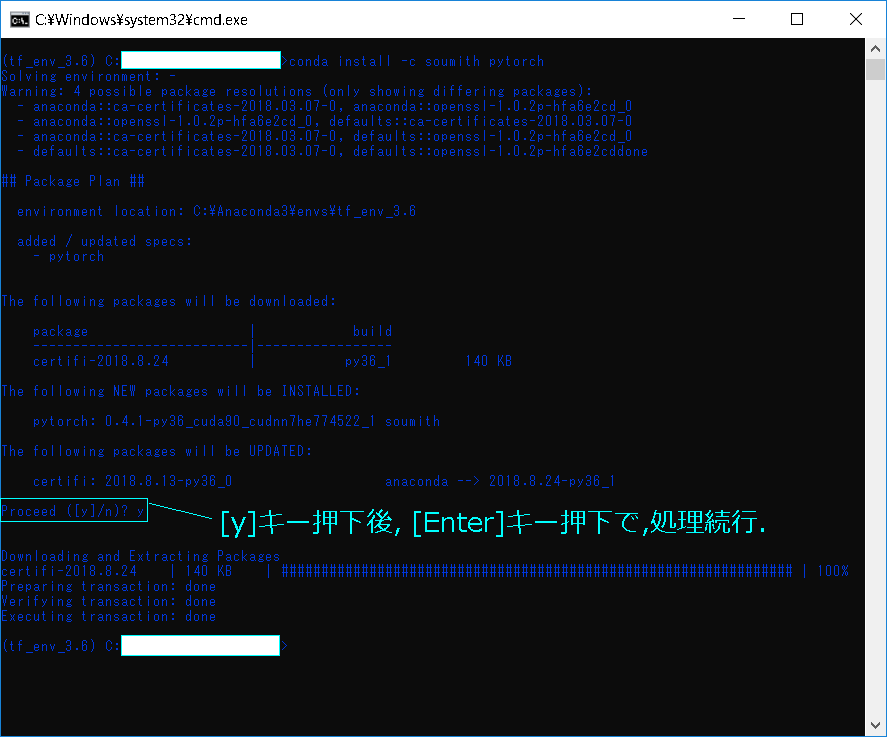
2. PyTorch環境設定(仮想環境: tf_env_3.6). 2-1. [Anaconda Navigator] から [Environments] - [tf_env_3.6] の 右三角ボタンを押下し, [Open Terminal]押下. 2-2. 以下のコマンドを確認. (tf_env_3.6) >conda install -c soumith pytorch Solving environment: - Warning: 4 possible package resolutions (only showing differing packages): ~(略)~ Proceed ([y]/n)? y Downloading and Extracting Packages certifi-2018.8.24 | 140 KB | ################################################################ | 100% Preparing transaction: done Verifying transaction: done Executing transaction: done (tf_env_3.6) >exit -> [Enter]キー押下で, Terminal終了. |

■対象プログラム(Spyder上).
|
1 2 3 4 5 6 7 8 9 10 11 12 13 14 15 16 17 18 19 |
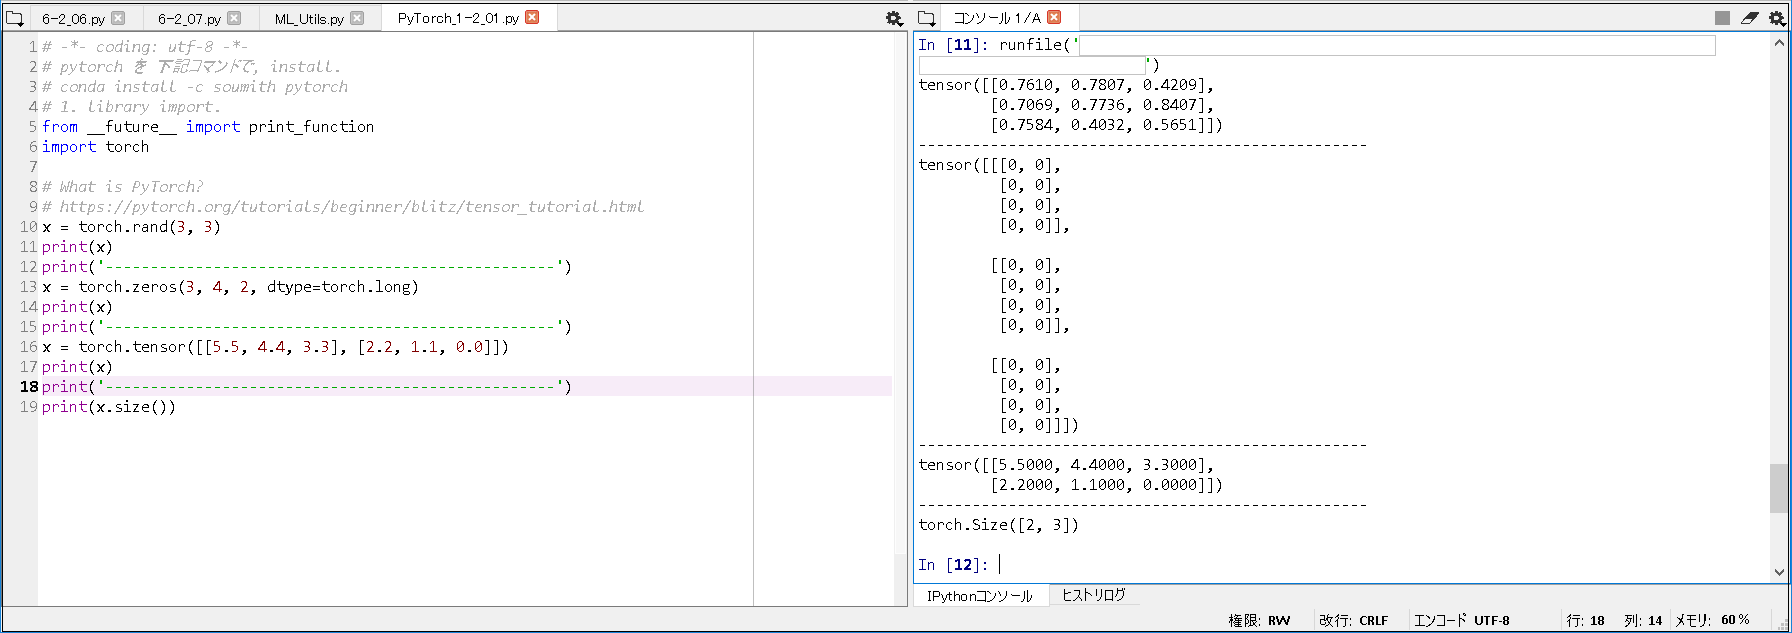
# -*- coding: utf-8 -*- # pytorch を 下記コマンドで, install. # conda install -c soumith pytorch # 1. library import. from __future__ import print_function import torch # What is PyTorch? # https://pytorch.org/tutorials/beginner/blitz/tensor_tutorial.html x = torch.rand(3, 3) print(x) print('--------------------------------------------------') x = torch.zeros(3, 4, 2, dtype=torch.long) print(x) print('--------------------------------------------------') x = torch.tensor([[5.5, 4.4, 3.3], [2.2, 1.1, 0.0]]) print(x) print('--------------------------------------------------') print(x.size()) |
■実行結果
|
1 2 3 4 5 6 7 8 9 10 11 12 13 14 15 16 17 18 19 20 21 22 23 |
tensor([[0.7610, 0.7807, 0.4209], [0.7069, 0.7736, 0.8407], [0.7584, 0.4032, 0.5651]]) -------------------------------------------------- tensor([[[0, 0], [0, 0], [0, 0], [0, 0]], [[0, 0], [0, 0], [0, 0], [0, 0]], [[0, 0], [0, 0], [0, 0], [0, 0]]]) -------------------------------------------------- tensor([[5.5000, 4.4000, 3.3000], [2.2000, 1.1000, 0.0000]]) -------------------------------------------------- torch.Size([2, 3]) |

※ちなみに, Spyder上で, 出力に, runfile(…) が表示されるので, 非表示に出来ないのかを調べたところ, 下記, 参照サイト③ にあるように, Spyder 4, to be released in 2019 で対応する可能性があるとのこと.
■参考書籍
現場で使える! PyTorch開発入門 深層学習モデルの作成とアプリケーションへの実装 (AI & TECHNOLOGY)
■参照サイト
【参照サイト①】Welcome to PyTorch Tutorials
【参照サイト②】What is PyTorch?
【参照サイト③】hidding the runfile() command in Spyder
